Meta Analysis - Defending Inferno
For this edition of Meta Analysis, we will be discussing how to defend the two bombsites of Inferno. Inferno is an interesting subject because it has been within iterations of Counter Strike since the beta of Counter Strike 1.6 in 2003. Yet, as recently as the 2016 reskin, the meta has been disrupted, remolded and reiterated. This piece will discuss the current Counter Terrorist meta, how it differs from previous iterations, and how you can utilize this within your own game. This guide is intended for newer players or those without as much experience in watching or playing in higher level competitive matches. If you are a regular viewer or an experienced player of CS:GO then the ideas within this article will not be novel, but hopefully you can gain something through working through the analysis and understanding the reasoning behind the implementation of these strategies.
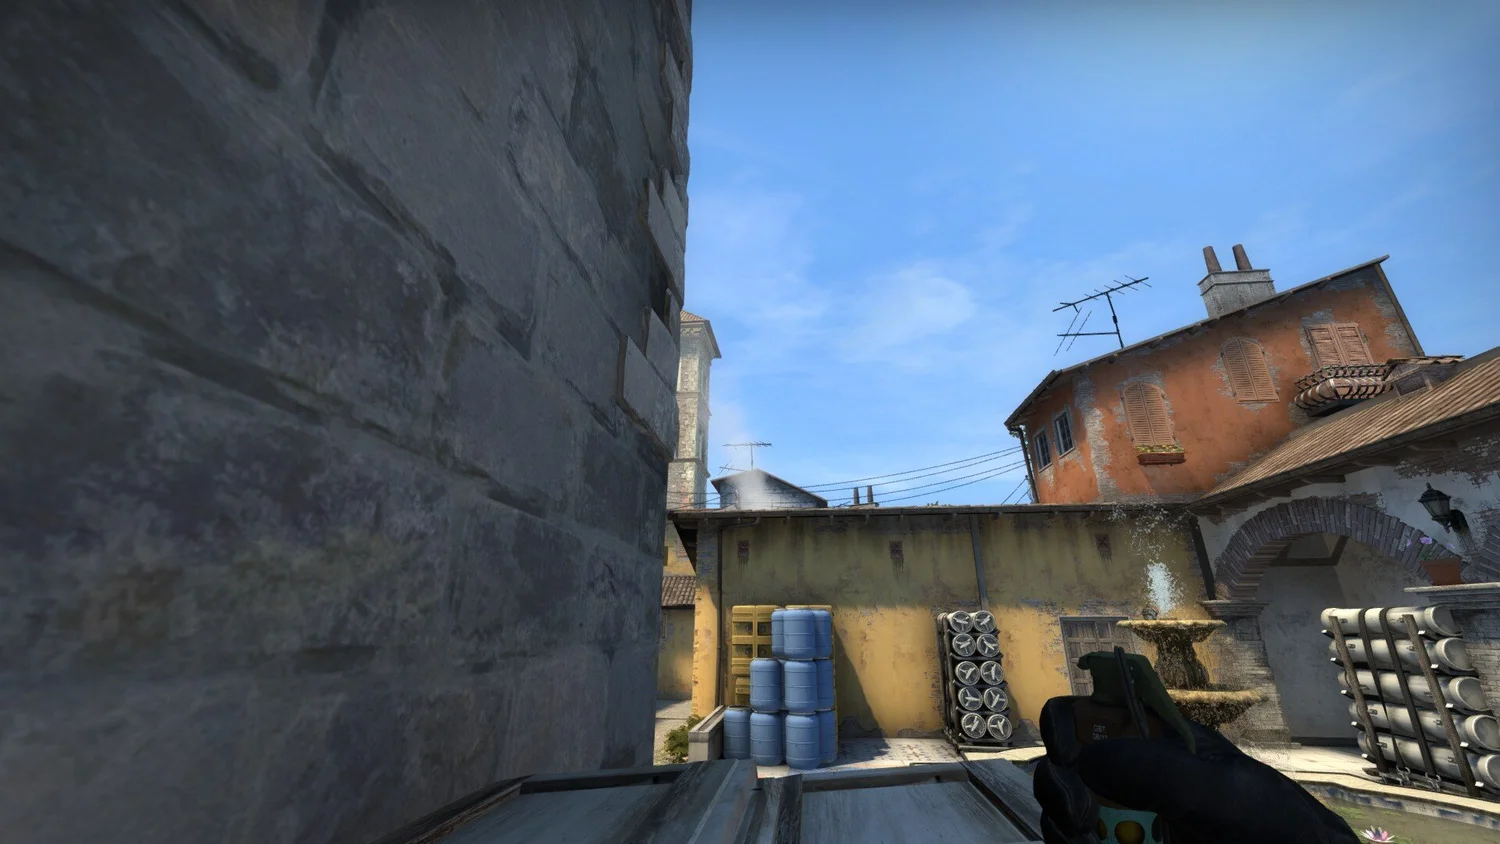
Let us start at the B site. The reskin of Inferno has massively impacted on the dynamic of the site. The arches that gave us KennyS’ AWP ace and Happy’s iconic deagle showcase have been removed, cutting down the angles that terrorists need to worry about when peeking top banana into the coffins area. The new boost that is available to Counter Terrorists does lessen the impact somewhat, but only when the terrorists fully commit to the site is this boost a position of power. Perhaps Happy’s deagle ace motivated the TSM core as they, under the new Astralis name, were the ones to take the updated Inferno and build upon it a new style of banana domination from the Counter Terrorist side. Previously the car position, janky as it was, was the ideal spot for an Awper to retain control over the whole of banana. Now, the car spot is hardly considered, let alone held, when defending the B site. The new Banana HE grenade airstrike that Astralis innovated utilised the geography of banana to present the Terrorists with a difficult conundrum - fight for banana and commit to tremendous grenade damage or allow banana to be held under the control of the Counter Terrorist side, allowing them to bolster their defense on the A site with little to no punishment.

Almost inexplicably, this boost always seems to lead to a kill or two
Perhaps the most interesting study of gameplay on Inferno from the last few months is the Astralis vs Liquid game at ESL Pro League Season 9. Round 17 showcases the traditional Astralis take, with a deep smoke, mollies and HE grenades to allow Xyp9x a free reign over the whole banana part of the map. With the economic situation of Liquid, which Astralis would understand, the reward highly outweighs the risk. If, for example, Liquid had decided to take the fight straight on with their pistols they would be met with huge utility damage, with no armour this would make it almost impossible to convert the round into a win.
The next round showcases how important understanding the utility and economic situation can be when holding B. Astralis now understand that they are against rifles and considerable utility, so they do not outstay their welcome at the hazardous choke point at the top of banana. Establishing the grenade set as a kind of default, which they will throw every round, allows Astralis to condition Liquid to not rush banana even if they do not, on that occasion, have any intention of throwing utility to stop them. With this achieved, Device, with a further incendiary grenade, smoke and flash trades places with Xypn9x. Now with 35 seconds remaining a smoke and a molotov remain on the B site even though Stewie2k has taken considerable damage and the Liquid side have had to battle to gain the control they now have.

With 37 seconds remaining, Astralis have a spare smoke on gla1ve and a further incendiary on device.
This highlights the importance of retaining utility on Inferno, especially on the B site. Placing a smoke down in the entrance to the B site forces the hand of the terrorists. Further, if you place a smoke in the dying moments of the round and there is no reaction to the terrorists you can utilise the geography of the map and the small chokepoint to popflash through, gaining all the information and perhaps kills on unsuspecting terrorists setting up their own attack. This is a strategy that has become more and more popular recently, often even when there is an enemy player playing an ‘anti-flash’ position it is good for one kill and lots of information.
The low roofs provide ample opportunity for creative popflashes
Let us now move on to the other side of the map, and the A site. In this aspect of the game Magisk and Twistzz have innovated. Within their tenure as the best teams in the world they have showcased the importance of retaining the pit position. Attempting to take the pit position necessitates turning your back to the open A bombsite, the library and the graveyard. Combine this with the two different corners that provide cover and the pit becomes an extraordinary task to attempt to take control of. The ubiquity of a quick Molotov from short has been countered with a counter-smoke from the counter terrorist side, both extinguishing the molotov itself and providing cover through potential one-way angles.
You can utilise this in your own games; most teams that are not coordinated will not have a strategy to deal with a player entrenched in pit without simply running in and hoping for the best. If you can stay alive in the pit you will be a constant thorn in the side of the incoming terrorists, who will be at your mercy within the inbuilt crossfire of the A site. Because of the regularity of the counter-smoke pictured below, you can often fool opponents who throw a molotov into the pit by smoking it from A site. With this, they will instinctively believe that someone is hiding within it. This effectively conjures a further teammate for you; and places extreme doubt within the enemies mind as to the exact positions of your defense.

The key to controlling A site is controlling the pit.
Control of the brackets positions, aka short and long, has long been the precursor for the control of the A site as a whole. However, with the increasing dominance of the pit position the meta seems to dictate that, with one player on long to ensure that CT spawn is controlled, it is not really worth fighting for. For example, Liquid’s 16:6 rout of Faze was predicated on an extremely defensive setup on the A site. Within only 30 seconds of the round Liquid are content to cede the top mid portion of the map. With this in mind, FaZe could start to get complacent with their expenditure of utility. To ensure that this does happen, Liquid will throw in aggressive rounds where they focus on retaining top mid control, perhaps with 4 people on the A site, as in round 19.

The defensive positions of Team Liquid.
Because of Inferno’s extremely long presence within the game, it can almost seem like playing on auto-pilot. This can be utilised to the advantage of the counter terrorists, with decisive actions such as mid peeks and pistol round mid rushes coming more and more into the fore. Catching the enemy team off guard not only can net you an important round, but it showcases your intent to not play strictly by the meta, and forces them to be thorough in their methods.

Spots such as these are well known but still under utilised.